**I’ll be updating my site and moving it to a new format soon. The site layout I selected isn’t being supported for phone browsing. The content is there, but formatting may be a bit off sometimes. I’m sorry for any annoyance!**
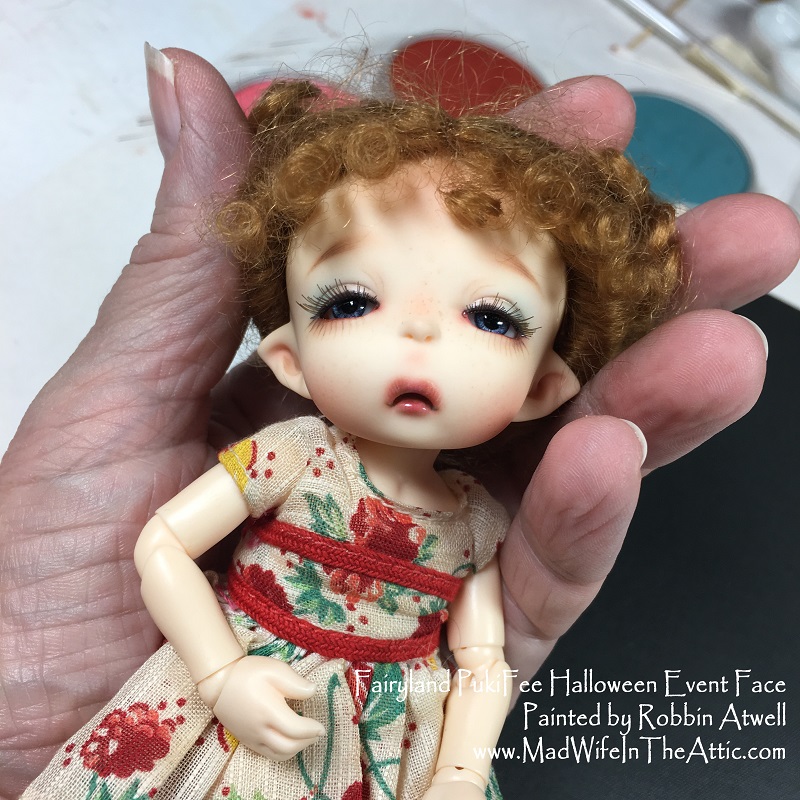
I’m painting a Fairyland PukiFee face for my friend, Monica. These dolls are very small (about 6″) and they have a great system of interchangeable face plates. This face is called “Halloween” because it was a special limited offering (I’m guessing at Halloween time). It is only available on the secondary market now.
I’ve gotten great feedback when I’ve shared step-by-step photos of faces so here are each step in my process for painting this little face.
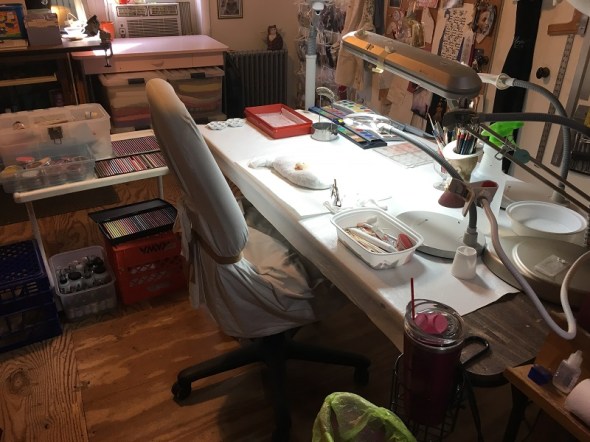
I started by setting up a nice work area with good lighting, magnifying glasses, and all my paints and pastels in easy reach.
Step 1 of the faceup is cleaning it up nicely.
I remove any seams, make sure the eye wells and eye openings don’t have any messy resin, and clean the face with soap and water. When it’s definitely dry, coat it with Mister Super Clear (inside and outside).

Monica wants the doll to have attitude, but with that down-turned mouth, I’ll have to be careful not to let her look sad.

Step 2: Apply the first layer of color to each part of the face.
Starting with the eyes, I paint a deep brown line along the edge of the upper lid and bring it to at point at the outer edges. I use acrylic paint around the eye openings because applying lashes and taking glass eyes in and out might damage delicate paint. Since this sculpt doesn’t have a tear duct and the eyes are so wide set, I painted a little curl for tear ducts. I paint a salmon color along the lower lid edge. With watercolor, I paint a line in the eye creases. After I finish painting, I use pastels to shade all around the eye–peach all around, teal at the outer lid, tan around the eye creases, deep pink in the tear duct.

For the lips, I start with a base of light peach to get the shape. I use paint brushes and paper artist stumps to press the pastel onto the surface. Then I layer on a darker peach color, and then a deeper salmon color. The layering gives a better effect. A very dark color is dabbed into the center of the mouth.

With pastels and paintbrushes, I dab pink and brown into the ears, smooth a very pale pink on the cheeks and the center of the forehead.
I use Pan Pastels, Golden acrylic paints, Faber Castel watercolor pencils, and Pelikan watercolors.
I’ve given each area of the face some color. I think I’m happy with it. The face is ready to be sprayed with sealant. Once sprayed, the colors are set and can’t be changed so I like to go away from the project and come back later to assess it with fresh eyes. Then, I’ll make any changes and spray it with Mister Super Clear sealant.

Step 3: The prior work has been sprayed with sealant, so I can add more color without goofing up what I’ve already done.
In this step I painted lower lashes and some freckles. I shaded in the eye brows with pastel. To get them even, I cut a stencil in paper. Shade one side, then flip it for the other side. This requires some trial and error. In fact, I erased her right eyebrow and lowered it after taking these pictures.

I added some lip lines with watercolor pencil.

I added more shading around the eyes with pastels and pencils. I added another layer of blush on the checks. She’s starting to get some personality.

Faceup part 4: Every area of the face just got a little “more.”
I painted some strokes on the brows and added more gentle shading to the brow area. I painted more strokes to the lower lashes to fill them out.

I painted some tiny smile lines at the corners of the mouth.

And, more blushing all over with pastels.
This is a tiny face so it’s hard for me not to go overboard with fussing. I think she’s pretty much finished except for the final applied lashes and glossing.

Finishing Touches: In this step, I applied a layer of gloss around the eye opening and 2 layers of gloss to the lips.
I glued lashes to the upper lid. I didn’t get them angled evenly the first time, so I had to do them over. (Also, sitting near an oscillating fan while working with tiny lashes is a bad idea.) I inserted the glass eyes and she’s ready to go!


Hello “Miss Ella Clara.”

There are many more pictures of her on my Flickr page: Robbin’s Photos on Flickr
I hope that sharing step-by-step faceup photos will help other face painters. A few beginner painters have told me that they learned from my other step-by-steps, and that motivated me to share this girl’s process too.
